


As a hydraulic cement-based repair material, Quikrete fast-setting cement has become an ideal choice for home repairs, small construction and emergency repairs due to its fast curing (typically initial setting within 20-40 minutes), high-strength bonding and anti-shrinkage properties. Compared with traditional concrete, its formula optimizes particle grading and additives, and can complete the hydration reaction through ambient moisture under water-free mixing conditions. Whether installing a fence, patio, mailbox, or pouring a small concrete slab, using the right material can bring significant results. Quick-setting concrete provides a fast and effective way to complete these projects in a shorter time without sacrificing strength and quality. This article will systematically analyze its correct use from material properties, operating procedures, application scenarios to professional tips.
What is Quikrete
Quikrete is a special type of fast-setting concrete designed for relatively small projects. Technically, it's called Quikrete Rapid-Setting Concrete Mix. It's a very special mixture of sand, gravel, and cement, pre-mixed in a bag. Quikrete, as the name suggests, works very quickly and should set in just 20 to 40 minutes. As a result, it's very popular for many applications, including setting various posts like fence posts, mailbox posts, and basketball nets. It can also be used for anchoring swing sets and other small-scale applications where some concrete needs to dry and harden quickly. It can also be used for sidewalks, walkways, stairs, and appliance pads.
Advantages of Quikrete
Fast onset of action
The main advantage of using Quikrete is, of course, its rapid effect. This special concrete mix is designed to set and harden within 20 to 40 minutes, making it much faster than regular concrete. Regular concrete can take up to eight hours or more to harden, which is too long for some people. For example, if you're installing fence posts, you can pour the concrete and set the posts in under an hour.
It's as strong as concrete
Many people assume that because Quikrete sets so quickly, it's not very strong, or at least weaker than regular concrete. Well, that's not the case. In fact, Quikrete is just as strong as regular concrete. While using Quikrete for large applications can be difficult because it hardens so quickly, it can technically be used for any application that regular concrete can be used for, at least in terms of overall strength.
It is as waterproof as concrete
Concrete is typically built to withstand exterior weather conditions, even high levels of humidity. Quikrete is just as moisture- and weather-resistant as concrete, making it well-suited for exterior applications as regular concrete. Aside from drying time, which can make Quikrete difficult to use for large applications, anything concrete can do, Quikrete can do better.
Just pour in and add water
One of the biggest advantages of using Quikrete is that you don't need any mixing tools, such as a wheelbarrow, bucket, shovel, or power tools. Regular concrete requires you to first pour the dry mix into a container, then add water to mix, and then pour it into the mold or area you're working on. However, Quikrete is different in this sense. With Quikrete, you simply pour the dry mix into a hole, such as a fence post, and then pour water directly on top. The fact that you don't need any mixing beforehand makes life much easier, and it also means you don't need any mixing utensils. Not only does Quikrete dry faster than concrete, it's also much quicker to install initially.
Bad weather days have their benefits
Because Quikrete hardens so quickly, it's perfect for use on days when you think it might rain in a few hours. If it's morning, you can use Quikrete even if it rains in the afternoon, which is certainly not possible with regular concrete.
Core characteristics and application scenarios of rapid setting cement
The essential difference between fast-setting cement and traditional cement lies in its hydration reaction speed and early strength development characteristics. Through special chemical additives (such as aluminates and accelerating components), the following performance breakthroughs are achieved:
- Ultra-fast setting time: initial setting in 1-5 minutes, final setting in 5-10 minutes, and basic hardening can be achieved in 30 seconds (with the "30-second hardening" product as a typical example).
- High strength in 2 hours: The compressive strength reaches over 20MPa in 2 hours and 30MPa in 4 hours, meeting the strength requirements for emergency repairs.
- Micro-expansion characteristics: During the hydration process, more hydrated calcium sulfate is formed, which produces a micro-expansion effect, ensuring that the repaired area is dense and shrinkage-free.
- Low temperature adaptability: It can still exert its strength normally in low temperature environments below 5°C, breaking through the temperature limit of traditional cement construction.
Based on the above characteristics, QUIKRETE fast-setting cement is particularly suitable for:
- Emergency leak plugging project: emergency water stopping scenarios such as water pipe rupture, basement seepage, pool leakage, etc.
- Rapid road repair: instant repair of potholes and airport runway damage
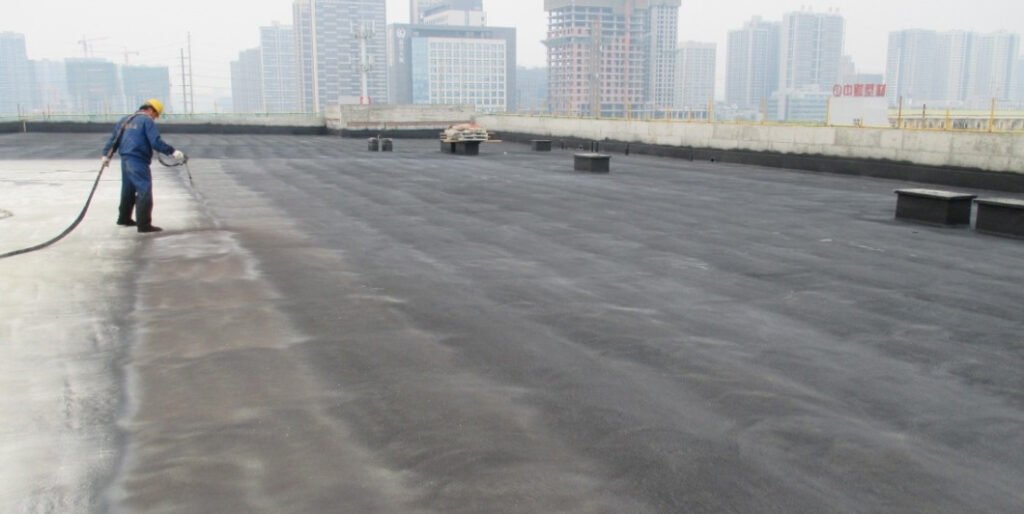
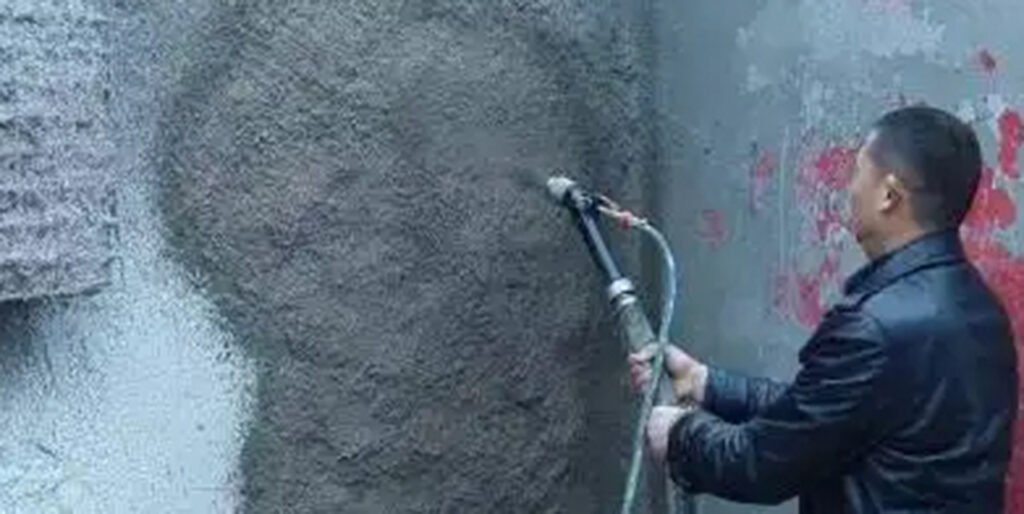
- Thin concrete repair: Patio and terrace surface resurfacing (thickness can be as thin as 0.5cm)
- Anchoring and support: temporary support projects such as tunnel anchor spraying support and bolt fastening
Such as key preparation work before construction
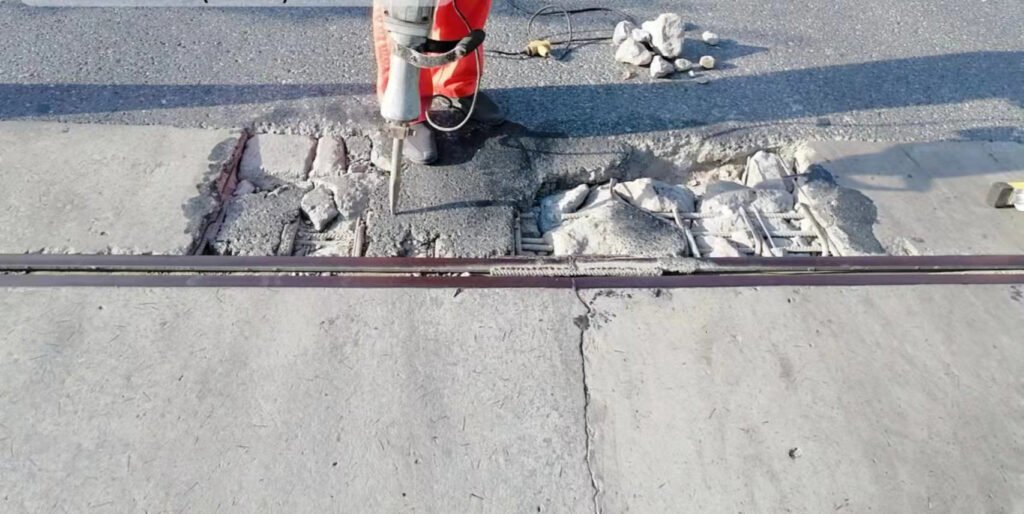
The quality of surface treatment directly determines the bonding strength of the repair layer, and the three-step treatment method must be strictly implemented:
1.Base surface excavation treatment:
- Crack repair: chisel into a bell-shaped or wedge-shaped crack (width > 2cm) to increase the material contact surface
- Thin layer repair: remove the weathered layer to the solid base surface and chisel out the jagged interface on the edge
- Leakage point treatment: Use the "drainage plugging method", first plug the upper seam, then the lower seam, and finally seal the drainage hole
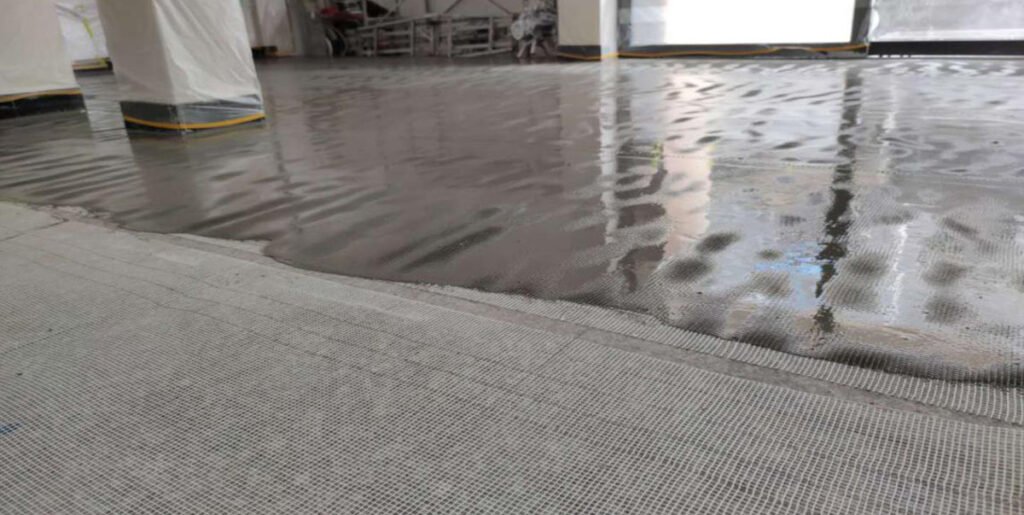
2.Clean and moisturize:
- High-pressure water jet flushing (pressure > 2000psi) to thoroughly remove dust, oil and loose particles
- Saturate the base surface (without visible water) before construction to prevent water from being absorbed too quickly by the base material and causing cracking
3.Environment and material preparation:
- Temperature control: Use warm water (below 40°C) in winter and cool water in summer
- Trial mix test: Conduct small sample trial mix before construction to determine the operable time and strength development curve
- Tools required: rubber mixing bowl, stainless steel spatula, compacting tool, protective gear (alkali-resistant gloves + goggles)
Material ratio
Accurate water-cement ratio control is the key to successful application. Based on the characteristics of QUIKRETE products, the following parameters are recommended:
| Application Scenario | Water-cement ratio (weight ratio) | Single mixing volume | Operation time |
| Thin layer repair (less than 1 cm) | 1 : 0.28-0.30 | ≤5kg | 3-4 minutes |
| Leak sealing and caulking | 1 : 0.30-0.36 | ≤0.5kg | 1-2 minutes |
| Structural repair | 1 : 0.25-0.28 | ≤3kg | 4-5 minutes |
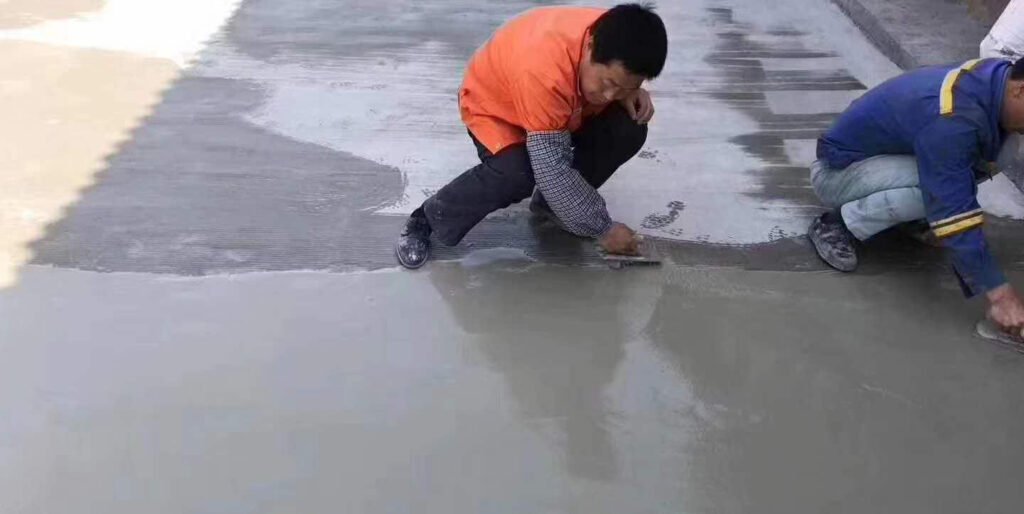
Key points of construction operation technology
According to different project requirements, the construction method needs to be adjusted in a targeted manner:
Thin layer restoration (patio/deck resurfacing)
- Layered construction: When the repair thickness is greater than 0.5cm, use a multi-layer construction method (each layer ≤ 0.5cm), with an interval of 2-4 hours between layers.
- Surface treatment:
1.Use a concrete float to smooth the surface before initial setting
2.Anti-slip treatment: Use a brush to pull the hair horizontally to form an anti-slip texture - Joint treatment: Use tape to protect the original expansion joint to prevent it from being filled with new material
Emergency leak plugging operation
- Emergency leak plugging operation:
1.Shape the mixture into a cone
2.Press hard into the leaking point in the direction of water flow
3.Continue to press for 30 seconds until it hardens - Dry powder emergency method :
only for emergency situations (such as cabin leakage), pour the dry powder directly into the water point and press it with your feet until it hardens.
Structural repair applications
- Grouting construction: For deep holes (>5cm), use layered grouting method, with each layer thickness ≤3cm
- Mechanical anchoring: When fixing with bolts, the hole diameter must be twice the diameter of the bolt. Do not disturb it within 30 minutes after pouring.
Typical application scenario operation comparison table
| Application Scenario | Key operating points | Recommended thickness | Solidification time node |
| Patio surface thin layer repair | Chiseling and high-pressure washing of the base surface, roughening with a broom to prevent slipping | 0.3-0.5cm | 6 hours to walk 1 |
| Basement crack sealing | Chisel wedge-shaped seam → drain and plug leaks → cover the surface with mortar | Fill the gaps | 30 seconds to stop water, 3 days to maintain |
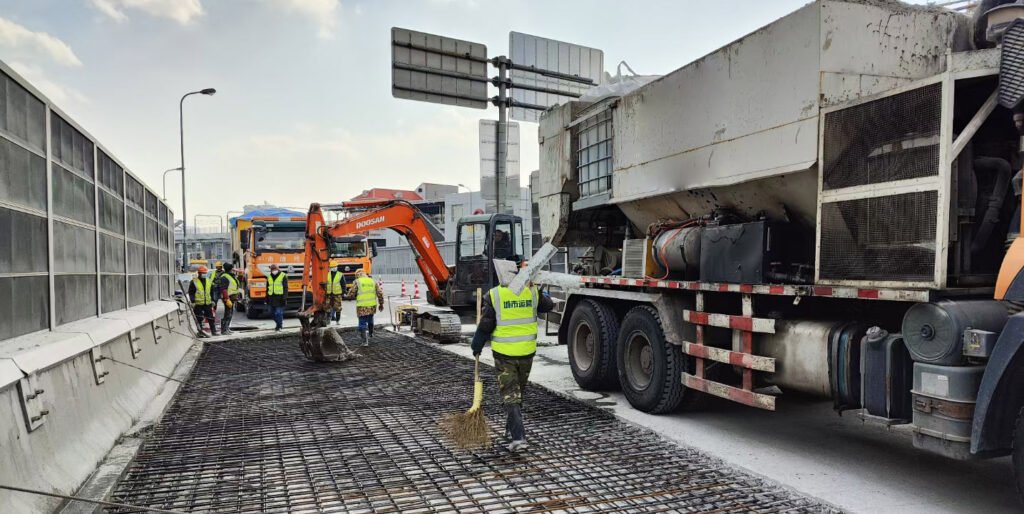
| Road pothole repair | Layered filling (each layer ≤ 3cm), surface embossed | Slightly above the road | 4-hour open transportation |
| Bolt anchoring | Keep the hole clean and moist, and do not move for 30 minutes after injection | dense filling | 30 minutes of load bearing |
Application of Quikrete Quick Dry Cement
How to erect columns in concrete
To anchor the post into the concrete, first dig a hole three times the width of the post and one-third to one-half its length. This depth ensures a stable foundation, strong enough to support the post and withstand potential weather changes or everyday wear and tear. Next, pour a 6-inch layer of general-purpose crushed stone into the bottom of the hole. This improves drainage and strengthens the foundation.
After preparing the post holes, place the posts into them, ensuring they are level and plumb. Accuracy is crucial at this stage, as any deviation could damage the support system, leading to future problems. Once the posts are in place, fill the holes with a quick-setting concrete mix, leaving a 3- to 4-inch headroom at the top. This space allows for future soil movement and final finishing touches to the project.
Pour water directly into the hole—up to 1 gallon (approximately 3.5 liters), depending on the hole depth and the size of the post—to completely saturate the concrete mixture. Proper saturation ensures that the concrete hardens seamlessly, resulting in a solid finished product. The mixture will set over the next 20 to 40 minutes. After four hours, the post will be strong enough to support any standard structure to which it is attached.
Reinforced wooden columns
The ground around the posts shrinks during winter cold and shifts during spring rainstorms. To prevent wooden posts from loosening due to seasonal changes, you need to reinforce them. Before placing the post in the quick-setting concrete, hammer several large, rust-resistant nails into the post at different angles on all four sides, just below the top of the concrete. These nails anchor the post more firmly into the quick-setting concrete and prevent any potential movement caused by temperature or humidity fluctuations. This method stabilizes the post and extends its lifespan by reducing factors that cause wear.
Repairing leaning columns
Rapid-setting concrete isn't just for new projects; it's also a great solution for quickly fixing problems, such as correcting leaning or sagging fence posts. Often, leaning posts are caused by improper anchoring or insufficient structural support. With some rapid-setting concrete, construction screws, and a few basic tools, homeowners can easily correct a post.
To repair a leaning column
Before pouring concrete, be sure to assess the situation to determine the cause of the leaning and the extent of the problem. It's not a good idea to only fill halfway through the post hole and then run to the home improvement store to buy more concrete, so you need to know the required amount of concrete in advance and have all the materials ready. Then, clear any obstructions around the post and prepare the site for unobstructed access during repairs, which will expedite the construction process.
Next, prepare the quick-setting concrete according to the manufacturer's instructions to ensure it sets as quickly and strongly as expected. Once ready, pour the concrete around the base of the column, making sure to fill any gaps that could cause instability.
Use a level to ensure the post remains plumb as the concrete sets. You may need to use additional wood blocks placed at an angle outside the concrete circle to support the post. Before applying any stress to the post (such as installing a gate or fence panels), allow the concrete to cure according to the product's instructions.
How to Use Quikrete: A Step-by-Step Guide
Now let's give you simple step-by-step instructions on how to use Quikrete. As you'll see, Quikrete is really easy to use. Given that installing posts is one of the most common uses for Quikrete, that's what we'll base our tutorial on.
Step 1: Dig the Hole
The first step here is to dig the hole for the fence post. As a rule of thumb, about a third of the fence post should be below ground level, so make sure the hole is deep enough. Also, to allow for enough space for the concrete, the hole should be three times the diameter of the fence post. Once the hole is dug, proceed to the next step.
Step 2: Add the Gravel Base
Next, to provide a good base for the fence post and good drainage, you'll need to add about 6 inches of gravel to the bottom of the hole. You really don't want to insert the fence post without a gravel base first. Then, using something flat and wide, make sure to tamp the gravel down so it's as flat and even as possible. It needs to be compacted.
Step 3: Add a post
Now, take your fence post and insert it into the hole. Using the appropriate measuring tools, try to ensure it is perfectly centered in the hole. Not only will it look good, but it will also allow you to add an even amount of Quikrete around the post. This will help with structural integrity in the long run.
Step 4: Add Quikrete
Once the post is in the hole, you can start adding Quikrete around the perimeter of the fence post. Use as many bags as you need to fill the hole to within about an inch of the ground, if not closer. Remember, one 50-pound bag of Quikrete makes about 0.375 cubic feet of concrete. For a 30-inch hole with a 12-inch diameter, you'll need about five bags. When pouring, make sure the post remains as level and upright as possible. By the way, it might be a good idea to wear some respiratory protection, as breathing in the dust isn't exactly healthy. Also, remember to pour the mixture dry. You don't have to mix it with water first.
Step 5: Add water
After filling the hole with dry Quikrete, you can now add water. Make sure to add the water slowly so that it can seep into the Quikrete without overflowing. For the same size hole we mentioned above, you'll need about 5 gallons of water or about 1 gallon of water per 50 pound bag.
Step 6: Leveling the Post
You will now want to use something flat to compact the concrete and smooth it out while making sure the post is level. It should only take a few minutes for it to start to set.
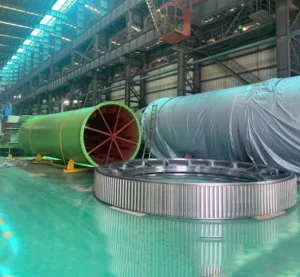
Quikrete Rapid-Setting Cement Manufacturing Process
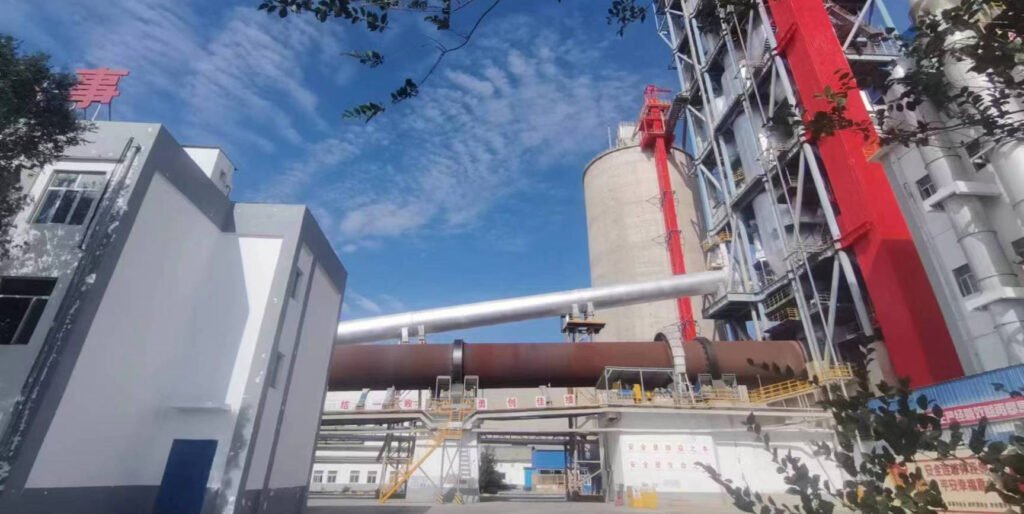
Rapid-setting cement is made from ordinary Portland cement clinker. During the clinker grinding process, small amounts of aluminum sulfate, gypsum, and other additives are typically mixed with the clinker and finely ground in a cement mill. The addition of aluminum sulfate and gypsum is primarily intended to accelerate the setting time of the cement paste.
The production process of quick-setting cement consists of five steps:
Raw material crushing→Raw material grinding→Clinker calcining→Clinker grinding→Cement filler
1. Raw material crushing
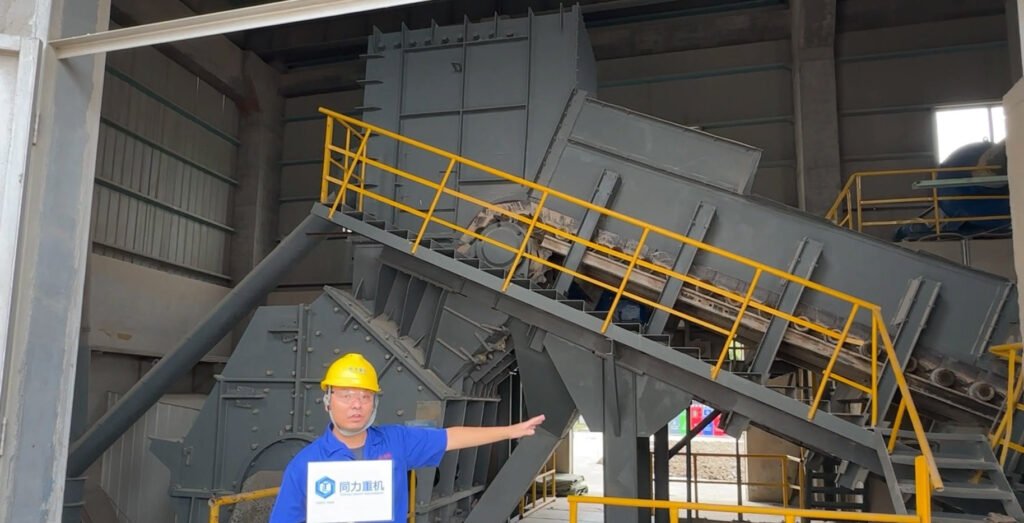
Cement raw materials such as limestone, clay and some fuel need to be crushed into smaller particles by cement crushers and then stored in material pre-homogenization yards.
2. Raw material grinding
These crushed raw materials and fuel are then fed into the cement raw vertical roller mill for further particle size reduction and stored separately in silos.
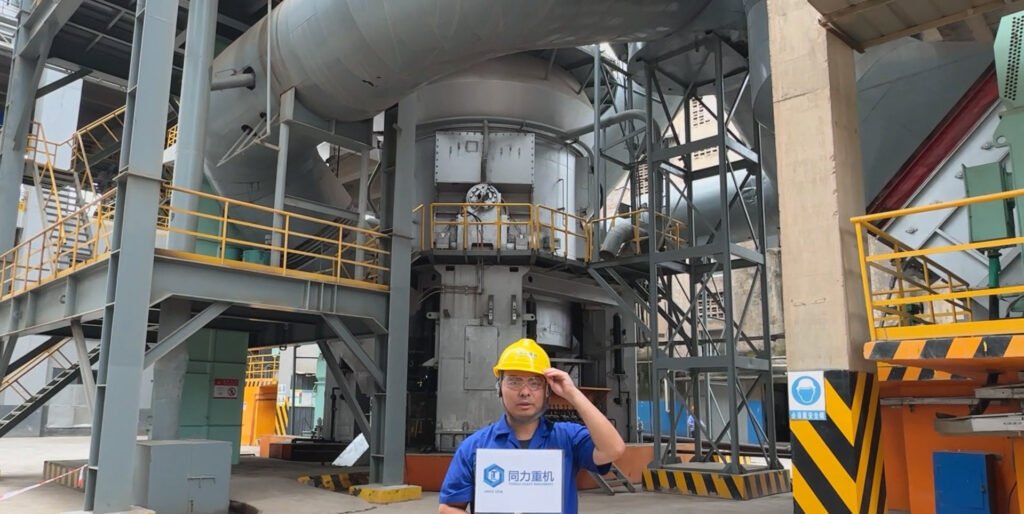
3. Clinker calcination
In this section, cement raw materials are fed into the cement rotary kiln for high-temperature calcination to form cement clinker, which is then cooled to room temperature by a cooler installed after the kiln.
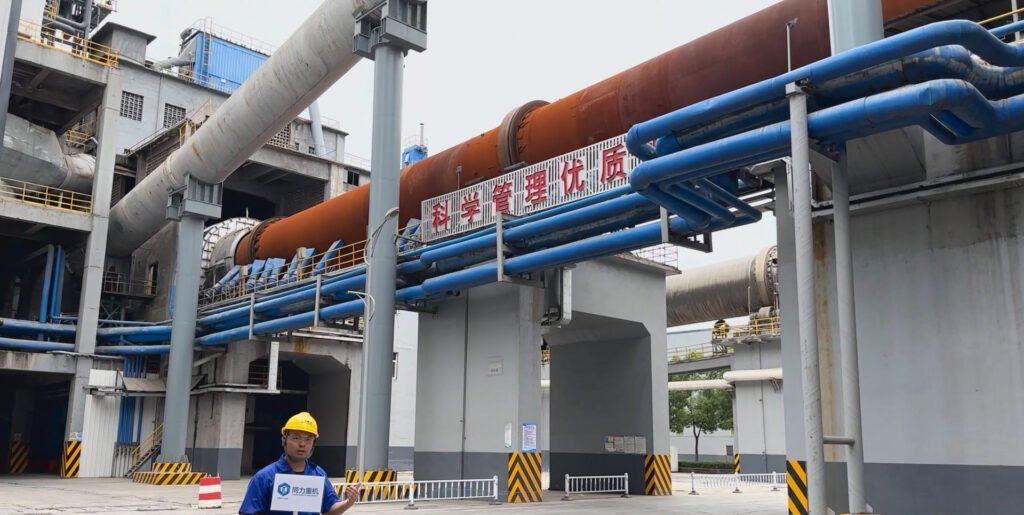
4. Clinker grinding

Large-particle cement clinker is mixed with admixtures such as aluminum sulfate and gypsum in a certain proportion and ground in a cement ball mill to form fast-setting Portland cement.
5. Cement filler
The ground cement powder is stored in cement silos and then packed into bags by cement packaging machines.
Rapid setting cement vs. rapid hardening cement vs. ordinary Portland cement
Quick-setting cement
Compared to rapid-hardening cement, rapid-hardening cement has higher C3A and C4AF contents, resulting in faster hydration and earlier setting, shortening concrete mixing, transportation, and placement times. Rapid-hardening cement exhibits a similarly slower strength growth rate as ordinary Portland cement, but exhibits less drying shrinkage. Rapid-hardening cement is primarily used for projects with tight deadlines and in low-temperature or underwater applications.
Rapid-hardening cement
Rapid-setting cement contains a higher proportion of lime and C₃S and requires a higher grinding fineness, resulting in higher early strength than both ordinary Portland cement and quick-setting cement. Rapid-setting cement offers fast construction speed and low construction costs, making it suitable for precast concrete construction, road construction, and other applications.
Ordinary Portland cement
Ordinary Portland cement is one of the most widely used cements, suitable for a variety of concrete projects. Its early strength is similar to that of quick-setting cement, but its setting rate is slower. Furthermore, ordinary Portland cement has a high drying shrinkage, making concrete prone to cracking.
FAQ
Generally speaking, you should mix about one gallon of water with each 50-pound bag of Quikrete. Remember, this is specifically for fast-setting concrete mixes.
Under the right conditions, which means moderate temperatures and low humidity, Quikrete will take approximately 20 to 40 minutes to set. However, it may still take 24 to 48 hours to cure.
Technically, yes, you can use Quikrete in the rain as it will still cure. However, the curing time and integrity of the concrete may be affected by the rain. Therefore, it is recommended to use Quikrete when it is not raining.
Yes, you can use Quikrete in hot weather, but be aware that hot weather will reduce the drying and setting time. Given that it already sets so quickly, hot weather can make the job difficult.
Yes, precautions for using rapid-setting cement in cold weather include:
1.Insulation materials, and heaters and enclosures when sub-zero temperatures are expected
2.Use high early strength cement
3.Heating raw materials
4.Avoid placing concrete on frozen ground
5.Maintaining the correct curing temperature to ensure proper setting and strength development
Conclusion
QUIKRETE fast-setting cement, through precise mix control and standardized construction processes, achieves repair speeds and project quality unmatched by traditional cement. Its core value lies in precisely matching material properties, application scenarios, and construction techniques. Whether repairing a 0.5cm-thick patio pavement or stopping a pressure surge in 30 seconds, it demonstrates the revolutionary improvements in construction efficiency achieved by modern building materials technology. Understanding the differences between these various cements will help you select the right one for your project. Quick-setting cement sets quickly and develops strength rapidly, making it a revolutionary addition to the construction industry. It's the preferred choice for cold regions, emergency repairs, or underwater operations. Understanding the properties and uses of quick-setting cement will help you make informed decisions and achieve exceptional results in your construction projects.